


⚡ TL;DR: This guide outlines tile roof installation for Virginia Beach properties, covering compatibility checks, coastal materials, preparation steps, precise processes, code compliance, and a local case study.
📋 What You’ll Learn
In this tile roof installation guide for Virginia Beach properties, you’ll master assessing compatibility, selecting coastal-durable materials, precise installation steps, and local code compliance for long-lasting protection.
- Assess your property’s tile roof readiness by evaluating structural strength, pitch suitability, and coastal exposure to ensure compatibility and avoid costly retrofits or failures.
- Select optimal tile materials for beaches focusing on wind-resistant clay or concrete options that withstand salt air, humidity, and hurricanes common in Virginia Beach.
- Master essential prep and installation techniques including deck reinforcement, underlayment choices, and step-by-step laying for secure, weatherproof results on coastal homes.
- Navigate Virginia Beach codes and permits to meet wind-resistance standards, secure approvals, and achieve durable roofs backed by real local case studies.
📖 Reading time: 7 min
✍️ Author expertise: Virginia Beach roofer with 15+ years of tile installations on coastal properties.
Ever wake up after a brutal Virginia Beach storm to find your roof intact while the neighbor's shingles litter the yard like confetti?
That's the quiet power of a properly installed tile roof—built to shrug off salt air, high winds, and relentless humidity that chew through ordinary coverings.
But getting it right demands more than slapping tiles on beams; it's about mastering the local code quirks and weather-proof tricks that keep your investment standing tall for decades.
Let's dive into the step-by-step blueprint that top roofing crews follow right here in Virginia Beach.
Assessing Your Virginia Beach Property for Tile Roof Compatibility
Not every roof in Virginia Beach can handle the hefty load of tile. Start here: inspect your structure's ability to carry 7 to 10 pounds per square foot. Skip this, and you're courting collapse during the next nor'easter.
Key Factors to Evaluate
- Roof pitch: Needs at least a 4:12 slope to shed water fast. Flat roofs? Forget tiles; they'll pool and leak.
- Truss spacing: Standard 24-inch centers work fine, but confirm with an engineer for older beach cottages.
- Existing damage: Rot, sagging, or weak spots mean reinforcements first. Coastal salt air accelerates decay, so probe deep.
Grab a local pro for a full load calculation. They'll factor in your home's age and wind zone. This step saves you thousands in fixes later.
Choosing Durable Tile Materials Suited to Coastal Virginia Beach Climate
Virginia Beach hits roofs hard. Salt spray from the ocean corrodes metal fast. High winds up to 120 mph during hurricanes demand tiles that lock down tight.
Humidity turns weaker materials to mush over time. Pick wrong, and you're calling roofers every other year. Go right, and your roof laughs at the weather.
Top Tile Picks That Thrive Here
- Clay tiles: Classic choice. Fire them up right, they resist salt and fade slow under UV blasts. Heavy though, so check your structure first.
- Concrete tiles: Lighter load, mimics clay looks. Coated versions shrug off moisture like pros. Budget-friendly for beach bungalows.
- Synthetic or rubberized tiles: New kids on the block. Flex with wind gusts, won't crack in freezes. Perfect if you want low-maintenance edge.
Look for Class F wind ratings minimum. Test salt resistance certifications. Local crews swear by these for homes facing the Chesapeake Bay.
Essential Preparation: Roof Deck, Underlayment, and Structural Reinforcements
Skip this step and your tile roof turns into a costly headache. Start with a rock-solid roof deck. In Virginia Beach, use at least 5/8-inch exterior-grade plywood or OSB, nailed tight every 6 inches on edges.
Roof Deck Checkpoints
- Inspect for rot or weak spots from past leaks. Replace anything spongy.
- Ensure rafter spacing no wider than 24 inches. Tile weighs a ton when wet.
- Sweep clean. No debris means no slipped tiles later.
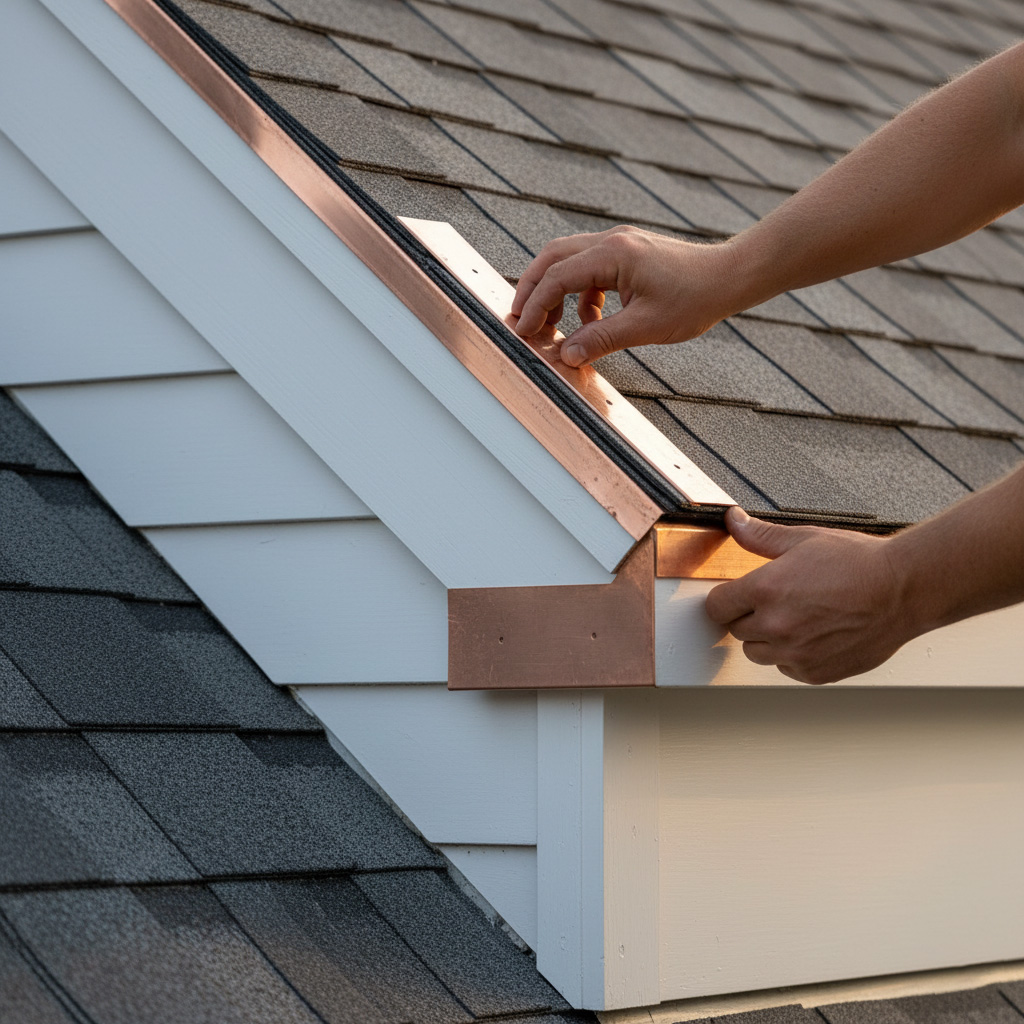
Next up: underlayment that laughs at coastal moisture. Go synthetic or fiberglass over ice-and-water shield on eaves and valleys. This duo blocks leaks from driving rain and salt spray.
Structural Reinforcements for VB Winds
Hurricane gusts here hit 130 mph easy. Beef up trusses or add blocking between rafters. Call an engineer if your home's over 20 years old; codes demand it now.
- Hurricane clips on every rafter tie-down.
- Extra bracing for overhangs.
- Verify load capacity hits 40-60 psf for clay or concrete tiles.
Get this prep dialed in. It separates homes that stand from those that scatter tiles down the beach.
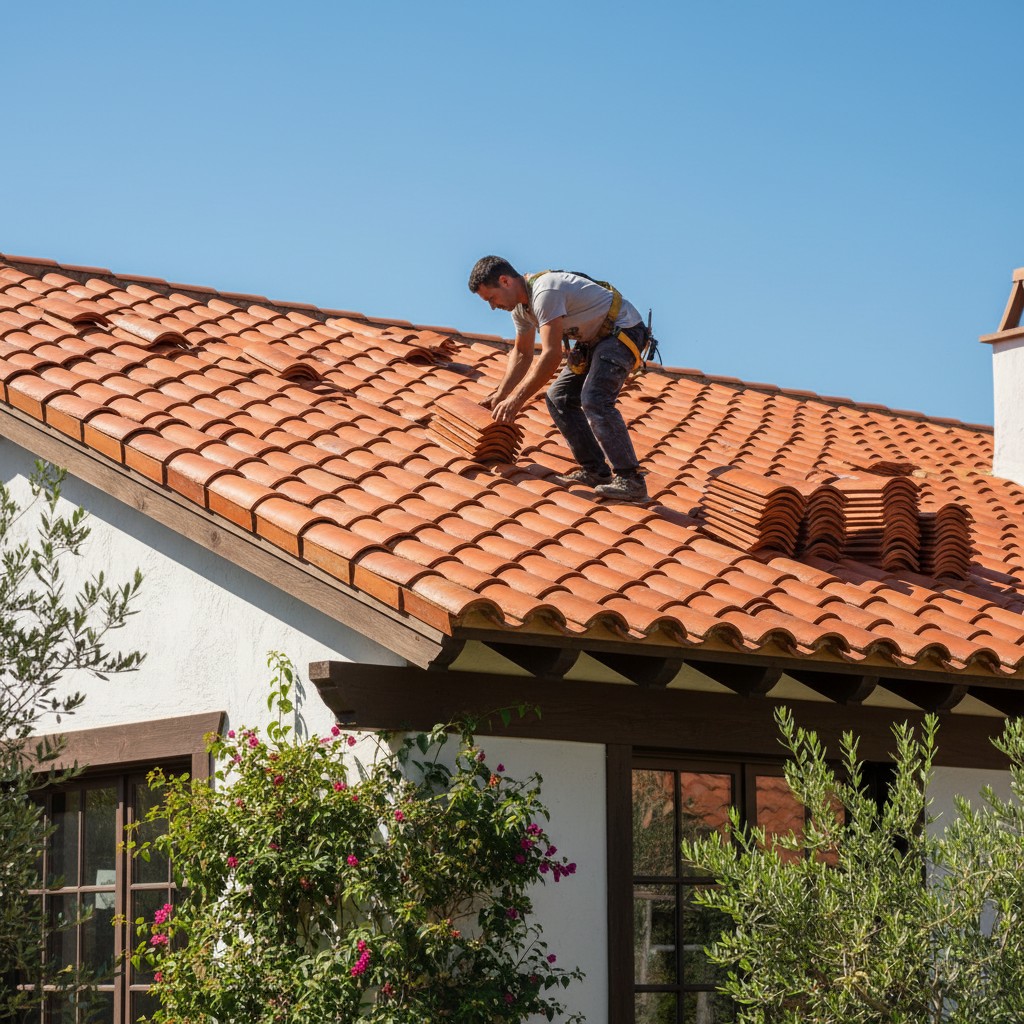
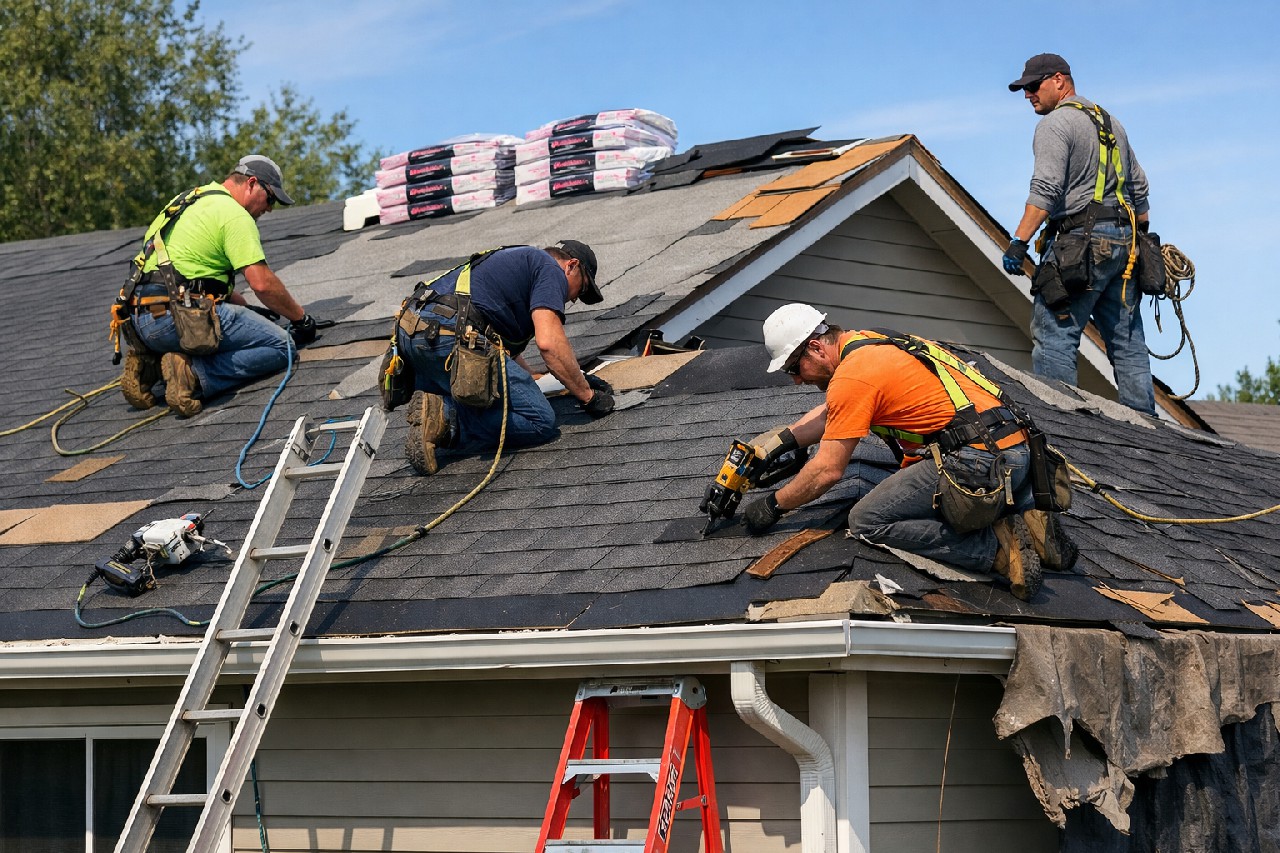
The Precise Step-by-Step Tile Installation Process
With your roof deck solid, underlayment sealed, and reinforcements in place, it's showtime. Crews here in Virginia Beach start low and work up, nailing each tile with military precision to lock out coastal winds.
Here's the exact sequence top installers follow. Miss a beat, and you're inviting leaks or flying tiles during the next nor'easter.
Key Installation Steps
- Starter Course at the Eaves: Snap a chalk line two inches above the drip edge. Lay the first row of tiles upside down, overlapping edges by half an inch, then secure with corrosion-resistant nails driven through pre-drilled holes.
- Subsequent Courses: Stagger joints like brickwork—never align them. Hook each tile over the one below and nail to battens every three feet, using six nails per tile for wind uplift resistance up to 130 mph.
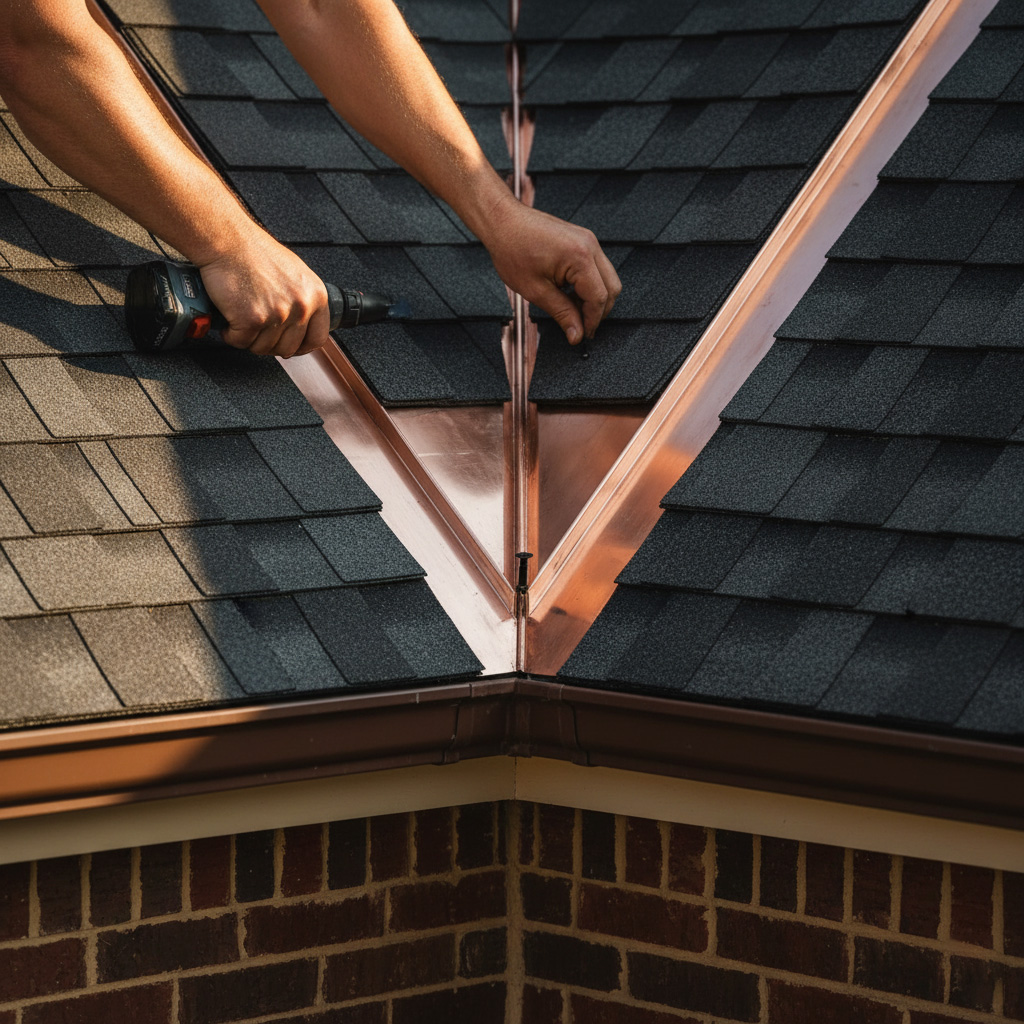
- Valleys and Hips: Cut tiles with a wet saw for clean fits. Install metal valley flashing first, then weave tiles over it, bedding in mortar for watertight seals against heavy Virginia Beach rains.
- Ridge and Rake Edges: Cap ridges with specially molded tiles or ventilated closures. Seal rake edges with starter strips to fend off salt spray and driving winds.
- Final Checks: Walk the roof, tapping tiles for hollow sounds that signal loose fits. Clean debris and inspect every nail—perfection or redo.
Expect this phase to take two to five days, depending on your roof's pitch and size. Pros use scaffolding and safety harnesses every time—no shortcuts in this beachfront battle zone.
Complying with Virginia Beach Codes, Permits, and Wind-Resistance Standards
Skip the fines and headaches. Virginia Beach enforces strict building codes for tile roofs, especially near the coast. Pull permits first, or inspectors shut your project down cold.
Key Local Permits You Can't Ignore
- Building permit from the Virginia Beach Development Services Center – covers structural changes.
- Zoning approval if you're in a historic or flood zone district.
- Wind load certification for anything over 30 mph gusts, common here.
Get these squared away upfront. Our crews handle the paperwork, saving you weeks of back-and-forth.
Wind resistance? It's non-negotiable in this hurricane alley. Tiles must meet Virginia Uniform Statewide Building Code (based on IBC 2021), with clips and adhesives rated for 130+ mph.
Pros test every fastening system. Botch this, and your "durable" roof sails off in the next nor'easter.
Case Study: Transforming a Virginia Beach Beachfront Home with Tile Roofing
Picture this: A classic 1950s beachfront bungalow on the Virginia Beach oceanfront. Salt spray battered its asphalt shingles for years. After Hurricane Matthew, leaks sprung everywhere, and chunks of roof flew off like paper in the wind.
Owners called us in desperation. We assessed the structure first. Concrete tiles emerged as the fix, rated for 150 mph winds and built to laugh at coastal corrosion.
Key Steps We Took
- Reinforced the rafters with steel trusses to handle tile weight.
- Installed synthetic underlayment and ice-water shields for double protection.
- Laid tiles in a French pattern, interlocking tight against gusts up to 140 mph.
Installation wrapped in five days. Total cost? Around $45,000, but warranties hit 50 years.
Fast forward two years: That same bungalow stood firm through nor'easters. Energy bills dropped 20% from the tiles' thermal mass. Neighbors now eye their own roofs with envy.
Final Thoughts
A tile roof in Virginia Beach isn't just a cover. It's your shield against the Atlantic's fury. Done right, it pays dividends for 50 years or more.
Skip the shortcuts. Hire crews who know every local twist, from wind-rated fasteners to code-compliant flashing. Your beach house deserves that edge.
Quick Wins for Your Tile Roof Decision
- Match tiles to your home's style—clay for Mediterranean vibes, concrete for budget muscle.
- Budget 20% extra for reinforcements; storms don't negotiate.
- Check our full guide in the Tile Roof Installation section for more blueprints.
Storm season waits for no one. Act now, sleep easy later.
People Also Ask
How much does tile roof installation cost in Virginia Beach?
Tile roof installation in Virginia Beach typically ranges from $15,000 to $40,000 depending on roof size, material type, and labor. Coastal properties may incur higher costs due to wind-resistant reinforcements and premium clay or concrete tiles suited to salty air. Contact local experts for a precise quote tailored to your home's needs.
Are tile roofs suitable for Virginia Beach's coastal climate?
Yes, tile roofs excel in Virginia Beach's humid, salty coastal environment due to their durability and resistance to corrosion. High-quality clay or concrete tiles withstand high winds up to 130+ MPH when properly installed. They also reflect heat, reducing cooling costs in hot Virginia summers.
What is the lifespan of a tile roof in Virginia Beach?
A well-installed tile roof in Virginia Beach can last 50-100 years with minimal maintenance. Factors like hurricane-resistant installation and regular inspections extend its life against coastal wear. Unlike asphalt shingles, tiles resist algae, moss, and UV damage prevalent in the area.
Do I need a permit for tile roof installation in Virginia Beach?
Yes, Virginia Beach requires building permits for all roof replacements, including tile installations, to ensure code compliance. Permits verify structural integrity for wind zones and proper drainage. Licensed contractors handle the process seamlessly to avoid delays or fines.
How long does tile roof installation take in Virginia Beach?
Tile roof installation typically takes 5-10 days for an average Virginia Beach home, depending on roof complexity and weather. Preparation like deck reinforcement adds time but ensures longevity in coastal conditions. Professional crews minimize disruptions with efficient, phased work.
Virginia Beach Roofing provides roofing services with deep expertise in installations, repairs, and maintenance for homes and businesses in Virginia Beach, VA. Drawing on years of hands-on experience, the team addresses the unique demands of the local coastal environment. Committed to the Virginia Beach community, they deliver reliable workmanship tailored to area needs.
Need Roofing?
Fast roof repairs and replacements in Virginia Beach, VA and nearby areas (23451, 23452, 23453, 23454, 23455), delivering leak-proof, weather-resistant protection that lasts.
Get Roof Quote